Monday, June 11, 2012

With Just a Little Bit of Ribbon...


I have been tying to create just the right look on my dining room table, but alas, still not finished.  But, there is progress.  My colors are turquoise and orange,  and if you've seen pics of my diningroom you aren't surprised.  Since I really like this color combination and have for sometime now, I needed a new look from my old colors!  Hit one of my favorite spots, Homegoods and found some really large napkins, 12 in a package for $7.99. My kind of deal.   I was able to use four as placemats and four as napkins. Well, now that I had the turquoise part of this combination, I just had to find the orange. I decided that I wanted oeange napkin rings.  Ever try to find those when it isn't even the fall yet, let alone Halloween!! Nothing caught my eye soo.. I figured I would have to make some and with the trip to see my son graduate from college, eating a major hole in my budget, I knew I'd  have to make them at very little cost.

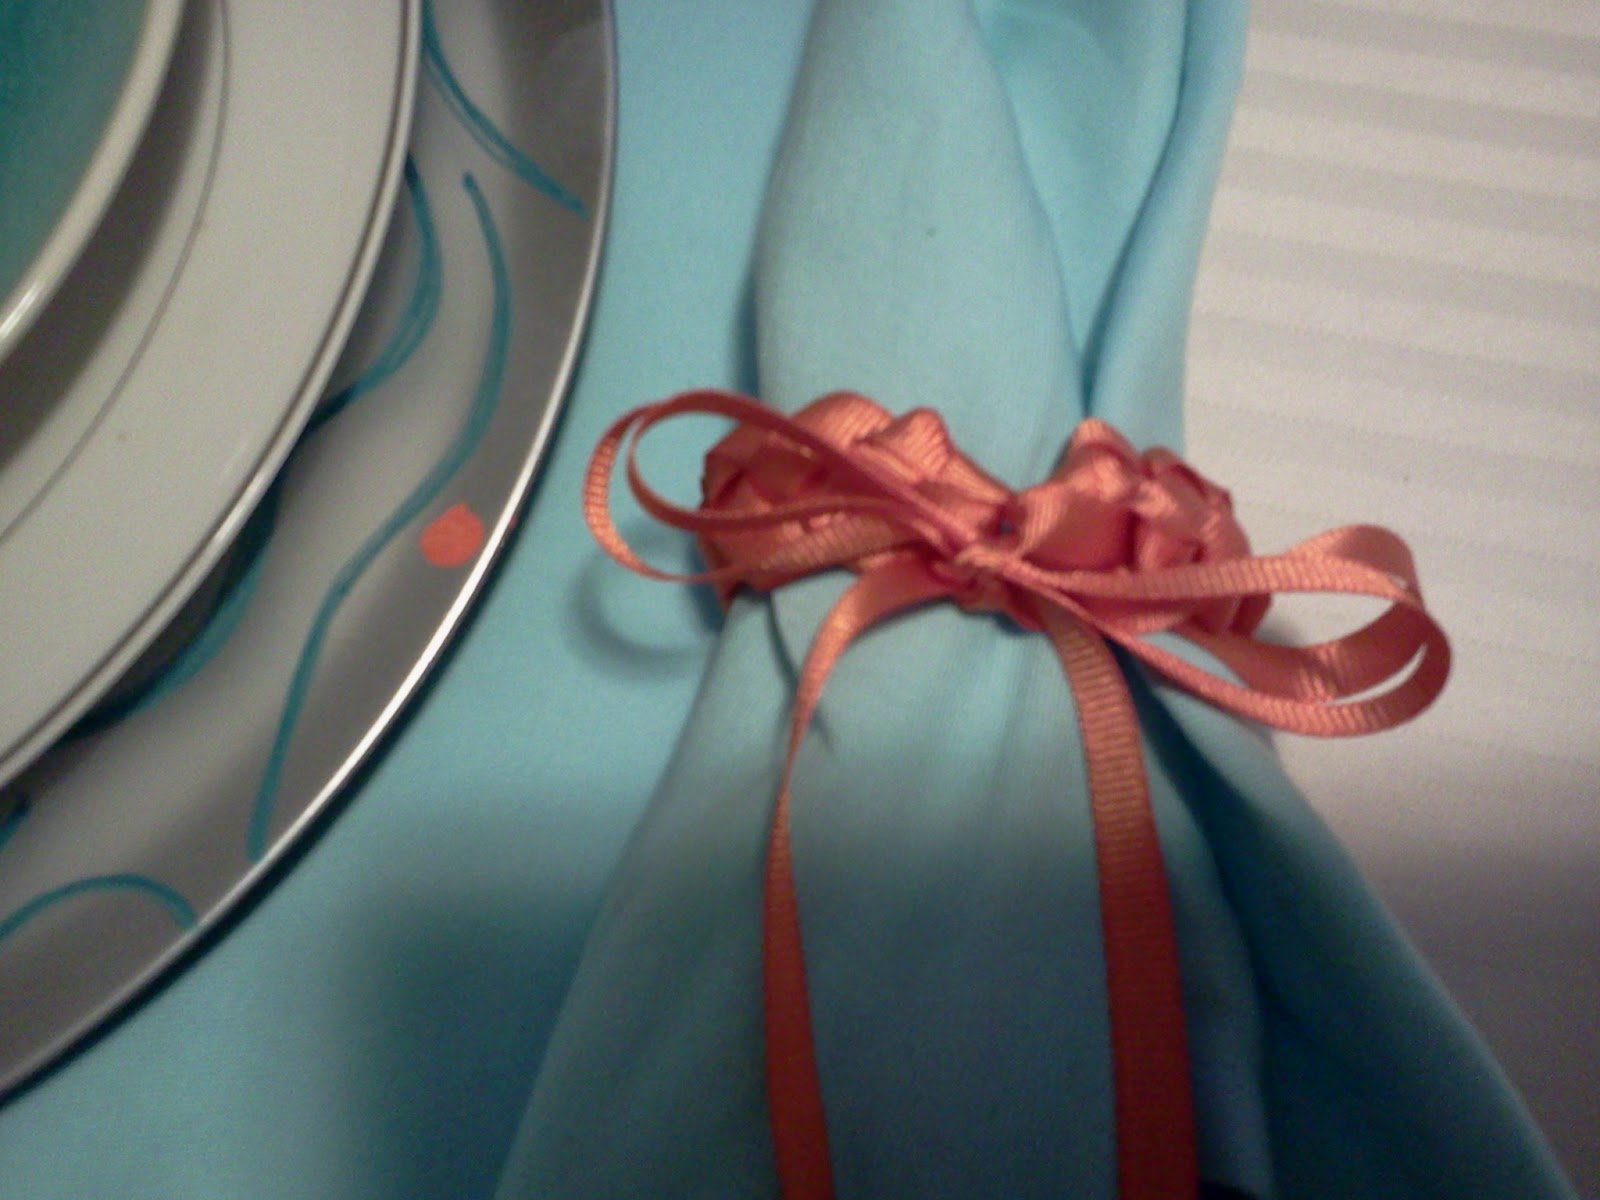
Hit on a cute  and simple solution. Remember braiding lanyards back at summer camp? Well, I do and  I decided to  try my hand at some braiding.  Plastic lanyard cord wasn't going to make it onto my table but ribbon could work.  Below are a few pics of  the napkin rings and placemat.  I has so much fun doing these that I decided to add some to the placemats. Nothing like good old grosgrain ribbon. It comes in so many colors and patterns, use your imagination!! What about using a ribbon that is a different color on the reverse side, too cute.   I saw some on the May Arts website, I think I'll go take another look at them.


Love this saying...

Sunday, June 10, 2012

Sometimes When You Least Expect It!


 As we planned to attend my son's graduation from college (yea me!! Two down and one more to go), my daughter and I looked for a cute, lightweight bolero or shrug to go with her sundress.   We weren't sure what the weather would be like in Upstate NY and wanted to be prepared.  There was nothing to be had in the stores, but wait, one day while on line I found it!! I'm always on the look out for something new, quick and inexpensive to make. Okay, you know I really wanted to say cheap, but inexpensive sounds a lot better.

It is a cute, quick and inexpensive little shrug that she could wear. It required 2 things, a t-shirt and
ribbon.  What do you know, I had both so, away I went.  And here it is ,what do you think of the finished product. 

Front

                                                         Back

Here's how you make it:

You need:
1 t-shirt
scissors
straight pins
a saftey pin
approx.  30  inches of 1in. wide  satin ribbon.

Locate the center of the t-shirt. I folded the shirt in half and ironed it, creasing the center.


      2 Cut from the hem up the crease and around the neckband.       


                   3. Next fold back 1 1/4 in. and pin along the cut edge, forming a casing.  Also mark 2 in. up from hem at center of sleeve.                           

The next step is to stitch along the edge, forming the casing. And stitching a gathering stitch from the bottom of the sleeve to the 2 in. point. Then gather and secure stitches.


Using the saftey pin, thread the ribbon thru the casing. Pull through, adjusting gathers and
DONE!!


That took less than 30 minutes.  Imagine the color possiblities.  With a few basic color t's and a variety of ribbons the possibilities are endless.


Doubt kills more dreams than failure.


Saturday, June 9, 2012

On The Porch

Well, it's finally summer in Georgia and I'm getting more and more comfortable with southern living. So, I figured it was time to get with the program and sit out on my front porch one beautiful evening with a tall glass of sweet tea and a good book.  Only one thing stopping me, a chair. Yea, sure, I have a couple of those fold up chairs that you slide into a bag when not in use, but I needed a front porch sitting chair. So off I went to my favorite Goodwill and , while I was looking at another chair, they brought the perfect one out and put it on the floor, right in front of me.  Now that's what I'm talking about!

Here she is:


 A steal for $7.49 !!


This chair is the perfect size for my pront porch, but I must admit she was just a little too plain. So I gave her a couple of coats of leftover exterior trim paint/ ( If you ignore the bags behind it you'll see the can peeking out on the left!).

Next, I came up with the idea to weave natural or burlap ribbon through the slats in the back. I used hot glue to secure the ribbon, starting at the bottom and just kept weaving a wonderful cotton ribbon the my wonderful friend Shelly over at ConfettiStyle  gave me. It's 100% cotton ribbon from May Arts (406-15-17 Natural Burlap/Striped Edge/Wired).   Rummaged around in my leftover fabric and found some burlap and old foam from an old cushion. I then made a small burlap cushion that I finished off with stripes of the same ribbon. Gave her  a couple of bows and off to the porch we went. 


Not like any other porch chair I've seen.  And my total  Thanks to Shelly was $7.49.

Tell me what you think!!