

Well, this project has been a long time in the making. It
started back in March when I spotted this damaged headboard while on an
assignment in Alabama. I looked at it and measured it but still walked out
without it. It wasn't the $20 price tag, I just wasn't sure it would fit in the
small rental car that I was driving. Once I was on the other side of a mountain
, I decided that not only would it fit but I really wanted it. Well,
I decided too late that I could work with this headboard,and there wasn't time
to go back for it. Boo Hoo. But where there’s a will…well, you know the rest. I
called the store and they did still have it so I bought it over the phone. I
then was able to get a family member who lives in the area to go pick it up for
me. On my brother’s next trip to Georgia, he brought it to me.


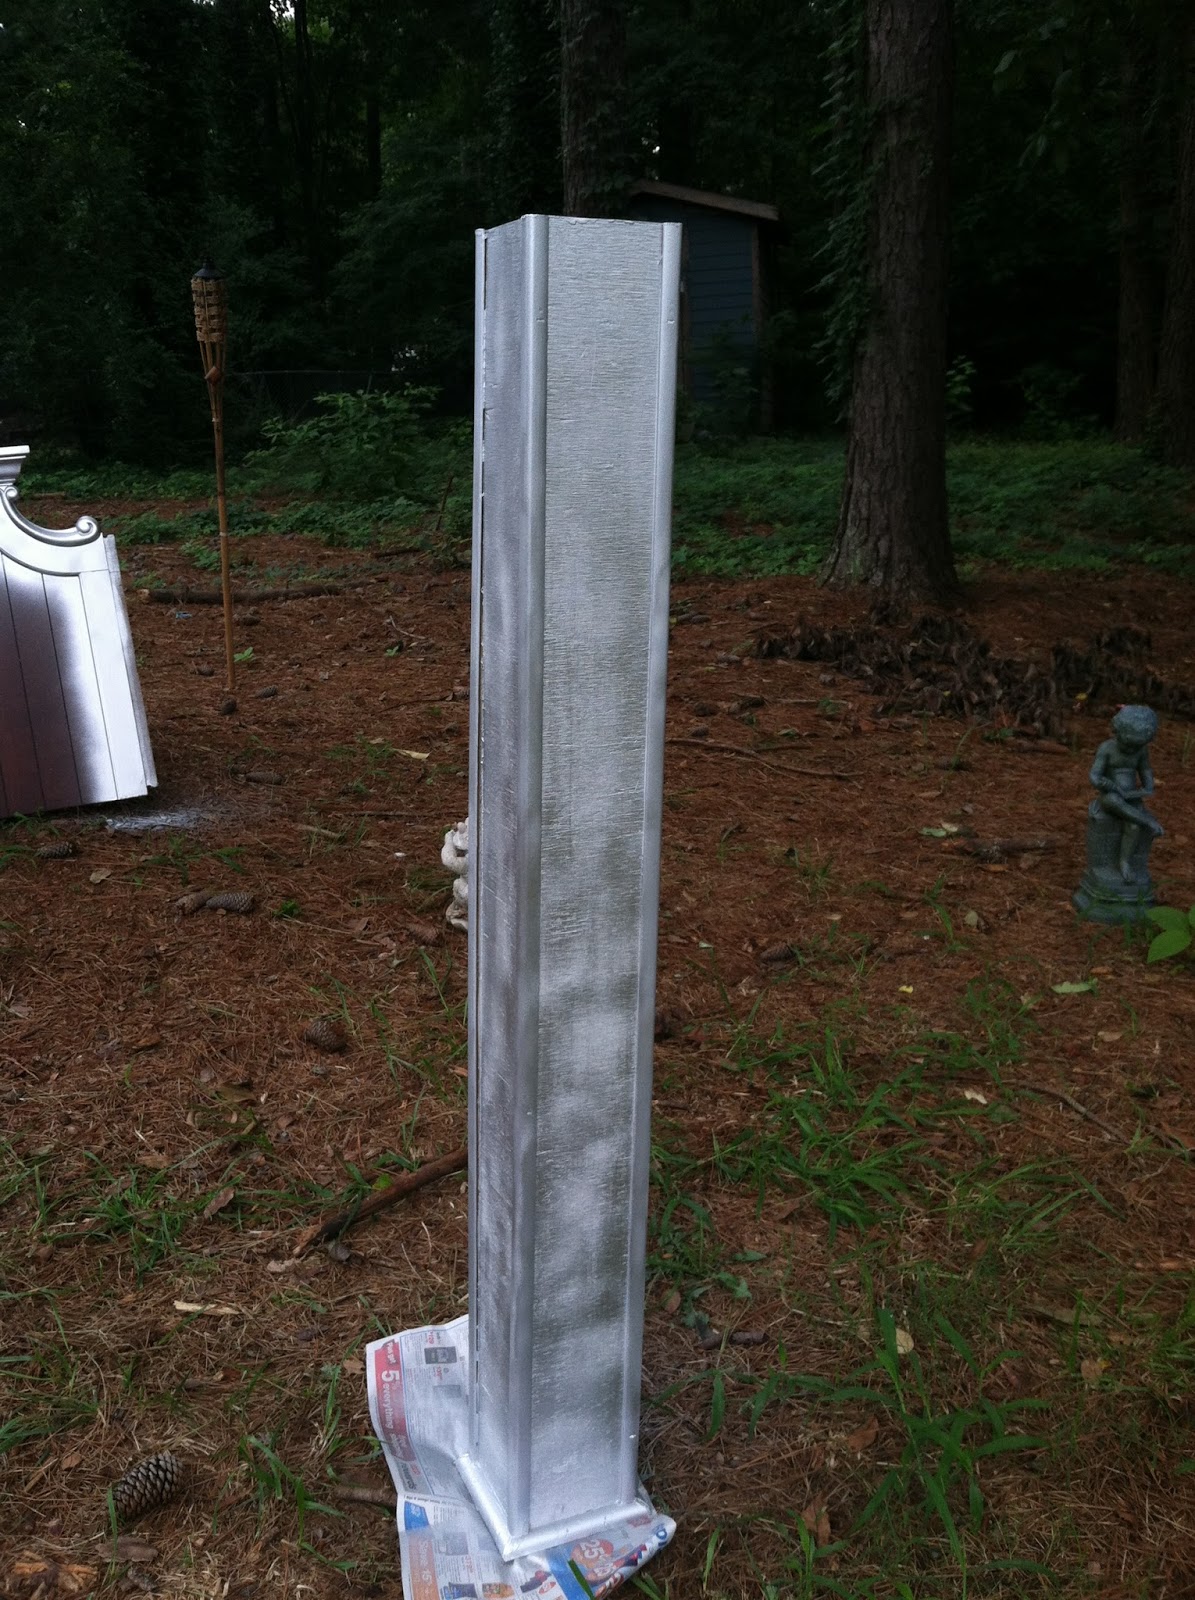
My next task was to determine the size of the posts that would be attached to each side of the headboard. That's why she was only $20. I wasn't able to find a pic on- line of this exact headboard so I just decided that I would make the bedposts 5” square posts that were 48” tall. Using a sheet of project board from Home Depot and some half round molding I created the posts.


Cutting the project board on my table saw, I cut
the pieces needed to make the posts. I then marked the “slot” in two pieces of
plywood. Using my jig saw I was able to cut out the joining slot with no
problem.

This is the piece that had the 22" slot cut out so that the end of the center would fit right into it.
I assembled the posts using Titebond Wood glue and my brad
nailer. I then cut half round molding to give the posts a more finished look. 

I wanted a unique finial top so I rummaged thru my bun feet and found that I only had 2 of these. Perfect. But I wonder what I originally had planned to use them for as I only had 2!! Oh well, I'll just say I knew I would need 2 for something !! I cut a 5” square from scraps, and finished the edges with molding After drilling a hole in the center of the square I turned the bun feet over and screwed them in place. I love the bun feet as the finial on top of the posts. Don't you love it when something you imagine in your head flows through your hands and it Works! I had to take it apart to paint and upholster the pieces.

The headboard and the posts where lightly sanded and wiped
down before I primed and painted them. All three pieces were painted with
Krylon Metallic Silver paint. Light coats and sanding between coats 1 and 2. I
then finished them with some Annie Sloan Clear Wax.


The next step was to upholster the center part of the
headboard. I wanted to keep the curved wood edge exposed. I found a pretty silvery
grey fabric while visiting the fabric district in Los Angeles. I wish I had
bought more fabric as I now want to cover my box spring. Oh the pain of it all.
Of course I could call and try to order a piece, if I could remember the name
of the store! Moving on, I wanted to
save money ( and who doesn't) so I used a queen sized egg crate mattress pad
that I already had, ( yard sale last year $5). I made a paper pattern of the
inside of the headboard and traced it on the egg grate foam. Using an electric carving
knife I cut out my foam Then the egg crate foam is glued to the heard
board with the smooth side up and batting in cut about 2” bigger than the foam.
I then decided that I wanted to tuft
the headboard. I came across a really cool shortcut that I decided to try when I
got to this part. Stephanie at Cre8tivedesigns.inc had the fastest, easiest
tufting method. Check out the site for complete directions. You’ll be glad you
did. I tufted my headboard and to give it a nice finished edge, I made enough
double welting to go around the interior and cover the staples that hold the
fabric


I know the fabric looks lavender but it is not. It is just reflecting the lavender pillows that I moved so I could take this pic.!!
Is she perfect, absolutely not, will I redo any part, absolutely not.
Tell me what you think !!
Would you buy something that was maybe not all there and turn it into your own? I'm curious.

This post is linked to: