Tuesday, November 26, 2013

Call me The Transformer: Guest Room into Craft Room

--In previous posts I shared the changes taking place in what has been known in my house as "the other bedroom", the guest room and Brandon's room. It is my pleasure to introduce the room as" My Craft Room", Yea me.

Previous posts showed the wall paper choice, the creation of my work table and the encore for the bookcases and my desk. The final components include my newly purchased Vittsjo shelves, hand painted rug and accessories.

Here are the Vittsjo shelves before :


I wasn't going for an industrial look so, I  followed a lot of others before me spray painted mine gold.
I painted the top and bottom shelves white while the others were glass.


Have you seen the wonderful painted rugs all over the internet? I've been really wanting to paint one, so a $5.00 find at the Goodwill was the perfect choice. I mean if  it didn't turn out so great it wouldn't break the bank!

I didn't want my rug to be hard or crunchy, so I mixed latex flat paint with fabric medium in a 2:1 ratio. A couple of tape measures and a roll of painters tape and...   It worked great.


Once the rug was dry, I felt like my room had finally come together.


 I was so excited to get started that I didn't take many ( or good) pics of the room before. Here's a before pic of the room...


And here it is after...

The chair will eventually get another encore, but right now, it's good. I took the cheap mini blind and made a no sew roman shade. Caught a neutral beige cotton on sale at JoAnn's  for about $4.00 (total!), I think I'm going to stencil a design on the valance with the leftover paint from the rug.

The bulletin board frame was from a vintage mirror that I bought at The Longest Yard Sale a year ago. I color matched the paint in the wall cover and painted the cork then added a white trim. The shelves allowed me to display my elephant collection that goes back some years. I also made the "M " and the "B" bookends. Watch for more like them in my Etsy shop soon.


Don't know what you think but, I LOVE it. Let me know what you think!!

Saturday, November 9, 2013

Encore for Desk and Bookcases

The next projects on the way to finishing my craft room were my desk and bookcases.

Here's my desk before it's encore:


    Actually, I had started the encore before I took a "Before" picture. So imagine it with two holes in the front.


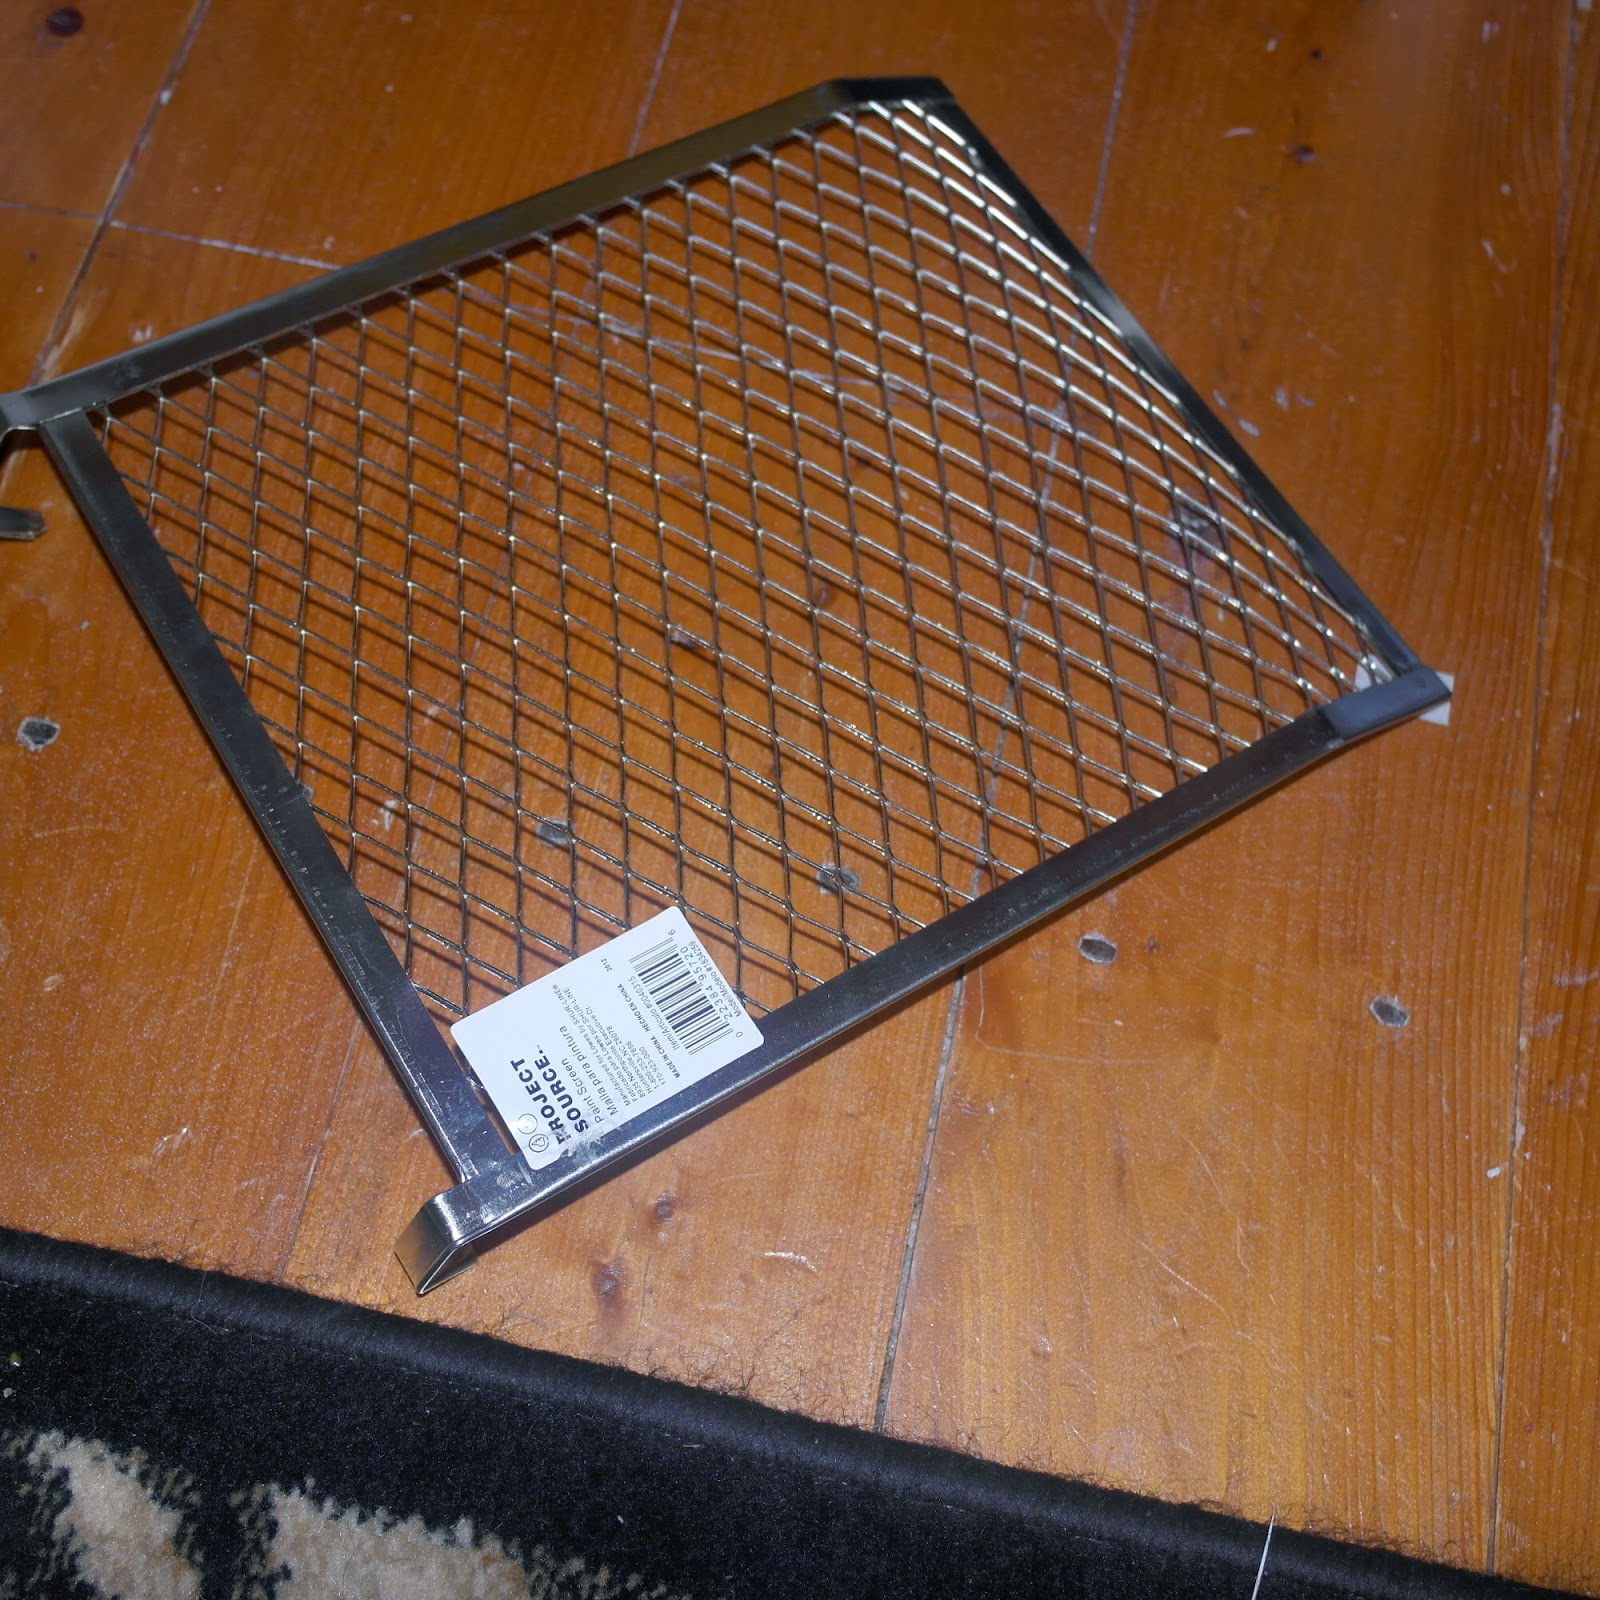
 I guessed it was the wonky leg that led to this desk being on the curb. All it took was an allen wrench and it was fixed! The 2 small drawers were missing and I had planned to make new ones, but never got around to it. After 4 years I decided to just cover the holes instead of making drawers. I bought a paint can grid at Home Depot for less than $4.00.

I used tin snips to cut the frame off and cut this grid down the middle. With the addition of some wood trim I "finished" these holes.


Next I gave the desk a quick sanding and then primed and painted the desk .


Still have to hide those cords!

In addition to the desk,  the short bookcases got an encore as well..
After a quick sanding..

Primed and painted. On to the 2nd one.


I also made a new bulletin board. I used a vintage frame that I bought at the Longest Yard Sale a couple of years ago. I matched the aqua in the wall covering and painted the cork board. To dress it up a little I added a white ribbon trim.


There's more to come as I totally transform this room. 


Tuesday, November 5, 2013

A Double Hack - Ikea and West Elm !!

Hi everybody,

It's been awhile , but I've been so busy with work (don't you hate it when work gets in the way.) and redesigning my 3rd bedroom  into an everyday craft room.

I've given my desk an encore as well as some bookcases, more about that coming up.
My next project, I know this is way out of order but...

I decided to complete a Double Hack, an Ikea hack and a West Elm hack!!
The inspiration for this hack was found at  West Elm. It's their 2 x 2 Console Desk. Pictured below.


When I looked at this desk, I saw 4 Ikea Lack tables and an Ikea table top!!
So, off I went to Ikea to get the Lack tables and a white table top.
                           
Ikea Linnom table top

Ikea Lack table


Here are the Lack tables. 
The underside of the tables had to be painted as they would be visible.

I used these to attach the 2 tables to each other.

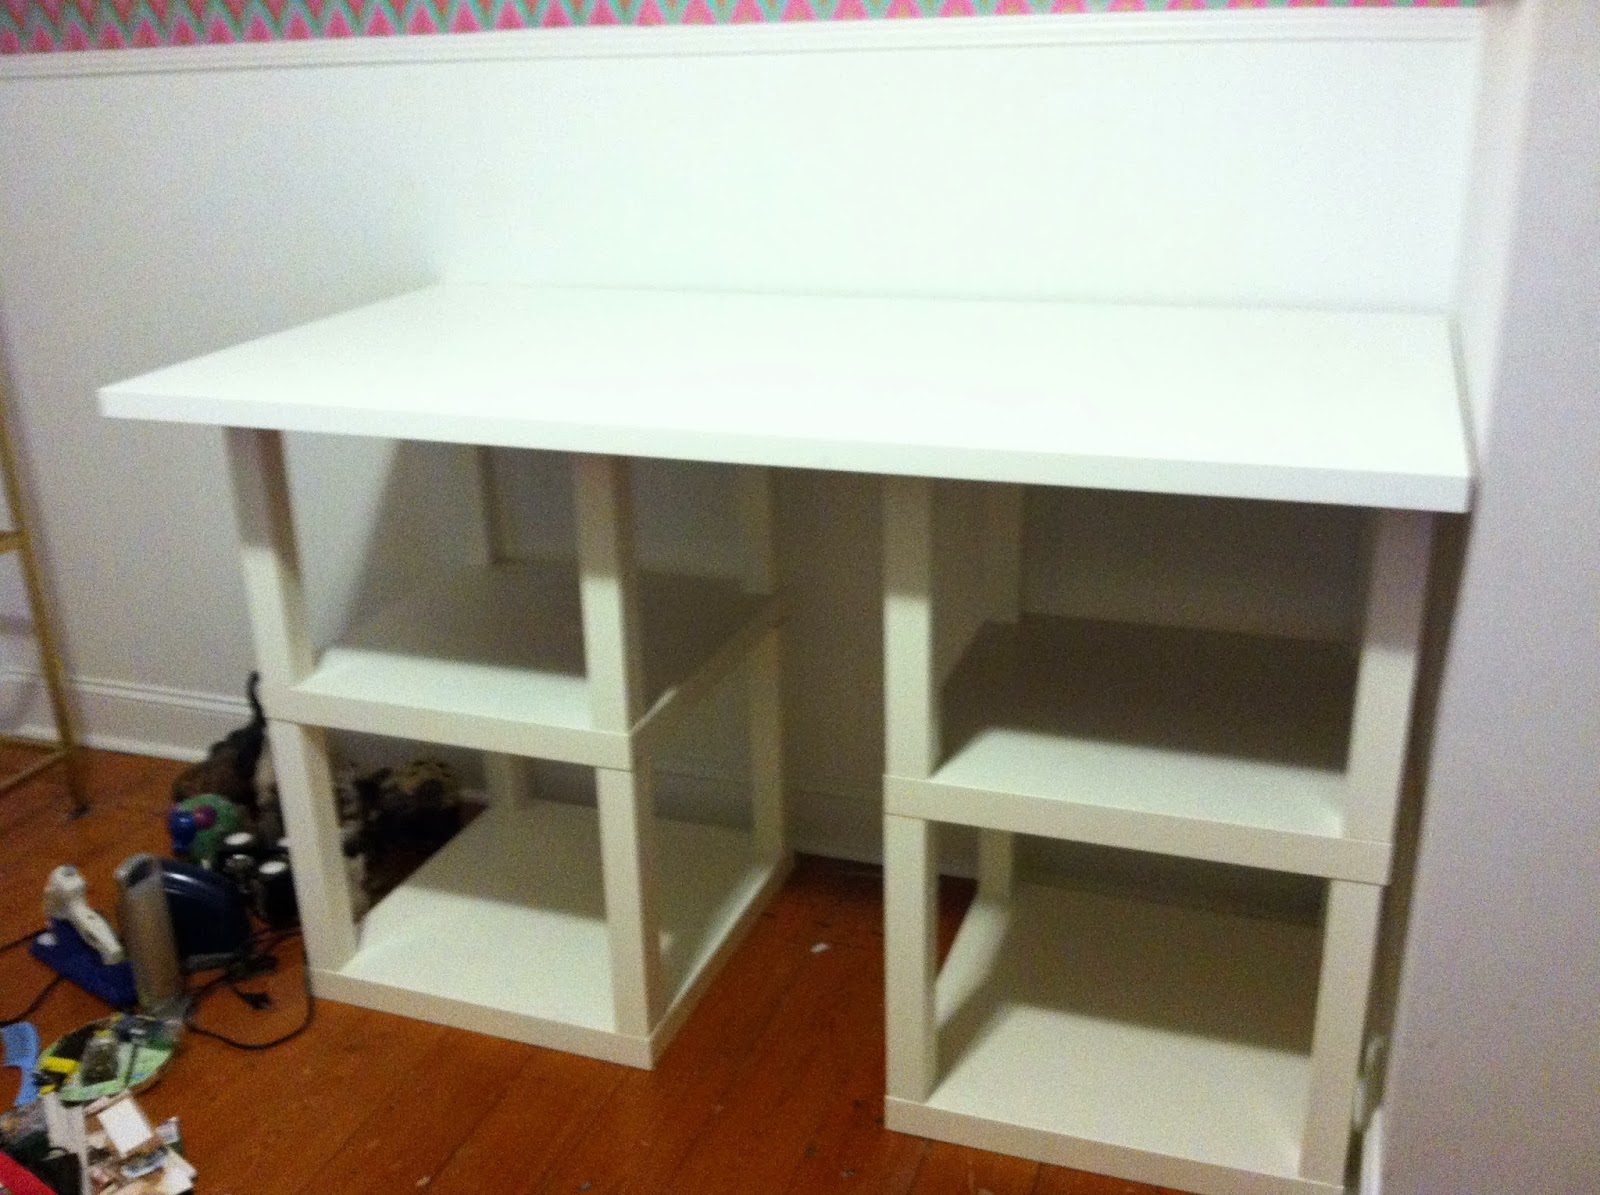
Here she is. Can't you just see yourself using all this wonderful work space. Ignore the mess on the floor, this room is under construction!!
 I  decided to trim 1" off all of the legs. I wanted my work table to be tall enough to use as a cutting table for sewing too, so I decided on a finished height of 35". 
Here she is.  The West Elm desk is currently on sale , it was $349 and is now $199.
It's 60w x18d x 30h. Not a bad deal right?

My table is 48w x 25d x 35h for a total of $69.00. 
Finished look

I decided to use 2 different size plastic containers. I didn't want to have to dig around in 4 large containers that were just "buckets" so I used some smaller ones too. To help organize the items in my containers, I used foam board from the dollar store and made dividers for the smaller containers. I was able to choose the size of the compartments within each container. Ones has 16 sections for lots of smaller common items!

Foam board dividers in the making.


When fully packed this container will hold the zillions of bottles of acrylic paint, organized by color!!

Stay tuned for the next installment on As the Room Turns ( into something useful and beautiful).


Wednesday, October 9, 2013

Quick,Inexpensive wall covering option- You'll love it!!

Now that I have finished my headboard I'm ready to move to another room and my "office/craft room/guest room" is next. Just the fact that the room has to serve all those needs tells you that this will be a challenge. And to top it off. it's not that large a room, its only 12 x 10.5 '. It currently just has a desk and 2 small bookcases in it. Oh, and a left over chest of drawers that is on it's way to the basement. One of the walls in this room loses about 3.5' due to a closet that "sticks" out of one corner


I'm kinda over this animal print look. After all, it's followed me through 3 different houses. I think I've had enough. I want a lighter more feminine looking workspace.

http://media-cache-ak0.pinimg.com/originals/85/5a/98/855a98ee564344b0ab514b03263048d1.jpg
Feminine Office Design, Pictures, Remodel, Decor and Ideas
                                                                via 
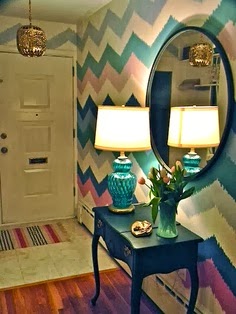
These  pics speak to the general look ( remember I said general, no way will I have the budget or space to do all this) that I want. I like the light airy look of the first pic but I also want a bold accent wall.


Not sure if I'm this bold, but I think I like it!


Very daring and I LOVE it!

I wanted to start with the walls. The paint in this room is in good shape, the room hasn't seen too much use so I don't have to paint. The walls are a very pale soft grey that only looks grey when you notice the white trim. The one wall that always catches my eye and whispers "accent wall, accent wall" is where I started. This wall  has white bead board half way up.  I wanted to really make the top half of the wall pop with color. After deciding that I didn't want a solid wall, I started looking for some fabric to apply to the wall. But then...


I spotted this wrapping paper in Marshalls and I fell in love with it,  What's not to love? It's a stylized chevron pattern using two of my favorite colors, turquoise and pink. This paper is really cool because it isn't paper. Nope, it's not vinyl either. This paper is called Stone Wrap by Loft 213, it's made from limestone!


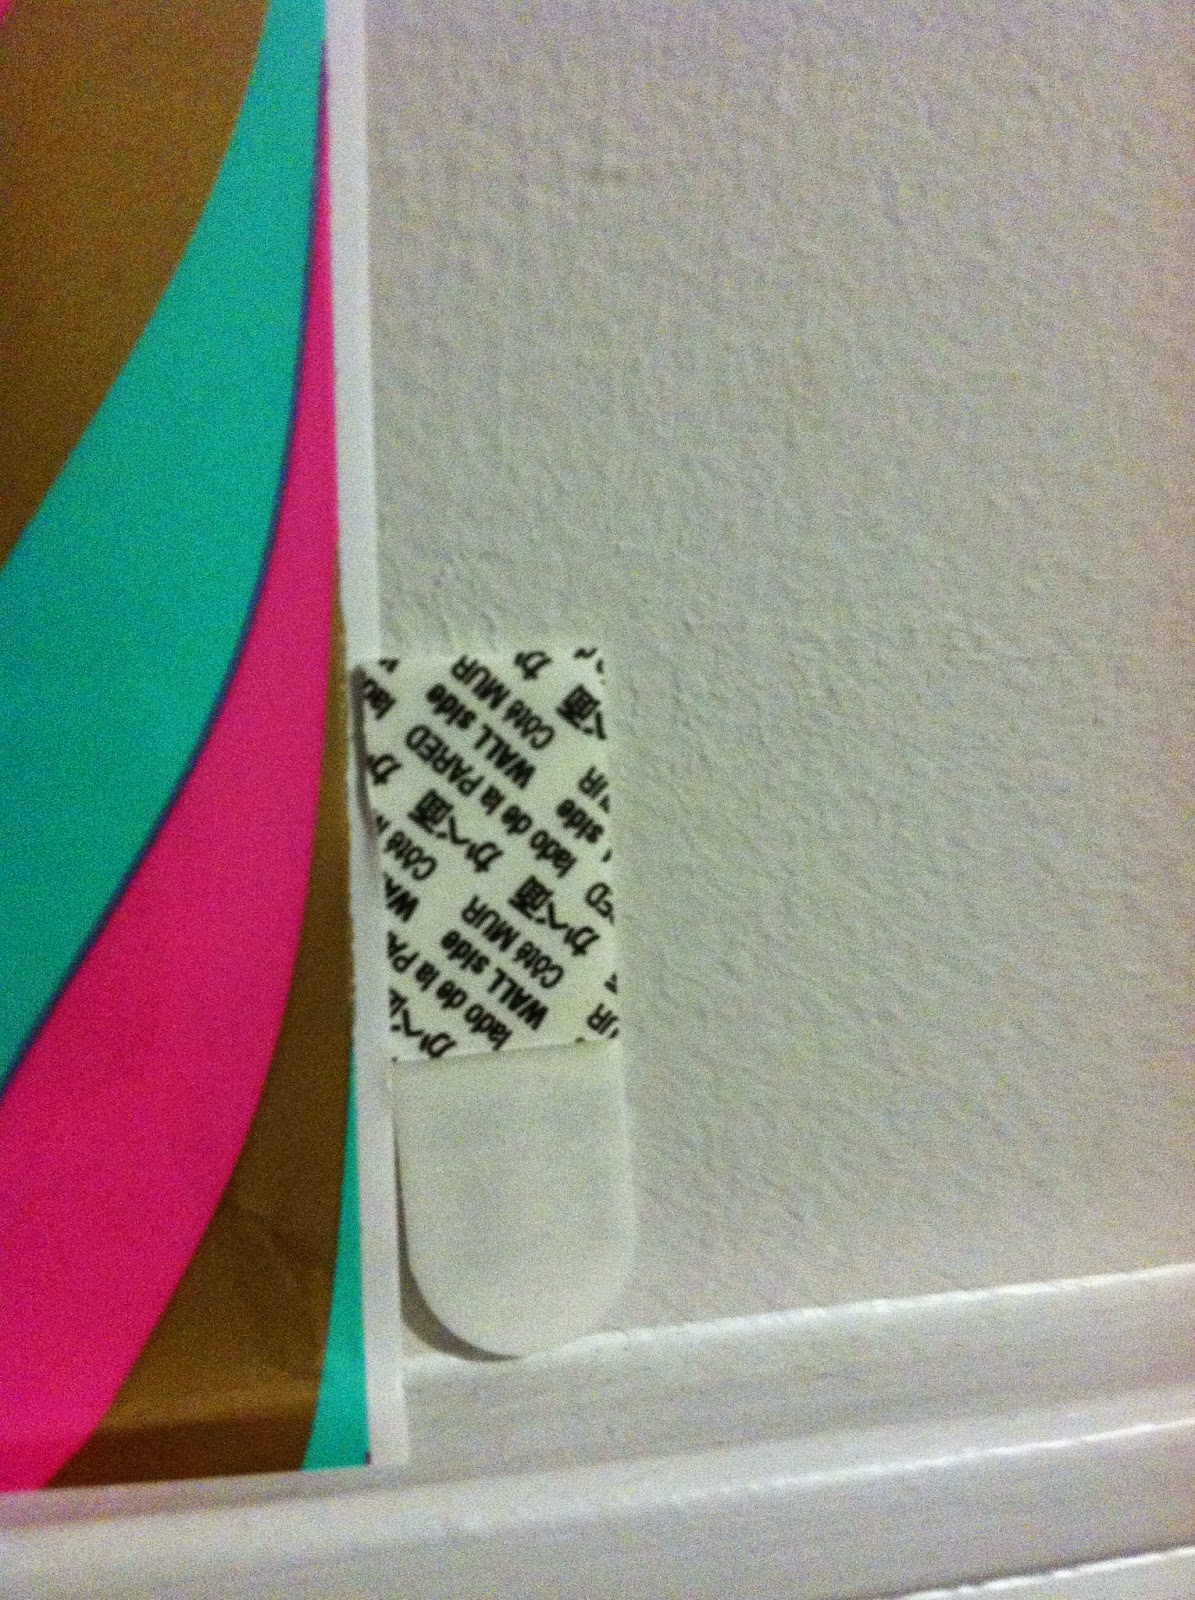
The price was right, $2.99 a roll and because it's so wide, 30" I only need 2 rolls for the top half of my accent wall. That's less  than $6.00. You can't buy a quart of good paint for $6.00!  Next, I had to figure out how to get the paper ( sorry, don't know what else to call this stuff) to stay on the walls without damaging the walls. If you are renting or leasing ( or just live with someone who hates glue, paste, etc on the walls) you understand. Well, here's what I found and it really gets the job done. 3M Command Poster Strips work perfectly. They are so thin that they aren't noticiable at all. I used the small strips. A package of 12 for $3.00 at Targets.

Here's why you should not lie to yourself, you know you can't see that tiny print. Go get your readers.!! I put the first 4 Command strips on wrong. But, so far so good.
Each piece of my paper is approx. 46" x 30", so to make sure they stay put I put a strip at least corner and one on each side mid way down. That means I'll need 18 strips total. That's $6.00 for Command strips for a total cost of approx. $12.00.


Just 3 other prints, there are even more available.
 
 This paper comes in so many cute patterns that I'm going to head back to Marshalls for more of it so that I can change this accent wall if I want. I saw two other patterns that would so work with the colors I plan to use in this room.

Here is the wall.

First sheet up, no problems!


Wall's all done!

If you plan to try this with other wrapping paper, go for it. My only word of caution is to look at your paper carefully before you cut it. I did discover a flaw in my second roll and had  to go back for more. But at $2.99 a roll, I'm  not too mad about it. I took the paper back and explained that I didn't see the flaw before I cut it, and they gladly exchanged it for another roll and apologized for the inconvenience. Way to go Marshalls!
This project took less than 40 minutes. I measured twice before cutting and spent time matching the pattern. I plan to paint my desk and bookcases white and will add a large chalkboard that I spied at Marshalls on this patterned wall. I also will be painting a 5x7 area rug that I got for $4.95 at a local thrift store. There's lots to be done in this room. Stay tuned, I plan to share it all with you.


 .

Wednesday, September 25, 2013

The Glam girl and Chickens!

It's time for my confession, I really (I mean really) like chicken & rooster figurines. Don't ask me to explain why, I don't know why. Why does a city born and raised girl who loves all things shiny,sparkly and glamorous like chickens? I don't really like real live walking around in the yard chickens , and I pass some everyday. Just figurines, nothing live. I don't remember when this began. I do have two chickens. I bought them for $5 at a thrift store in Mich., I have been told I got taken!! Anyway...


 I have 2 of these  Black chickens

I started noticing that whenever I went out shopping,( particularly thrifting) I always saw a chicken that I liked. I never notice cows, dogs or any other animal, just chickens. My good friend Shelly noticed that I was always looking at chickens and began teasing me about it. She was right, I was always picking up a chicken on our monthly outings to Scot'ts Antique Market, but I never bought them.

If you've been in HomeGoods or even Hobby Lobby lately, you've seen chickens. Or maybe you walked right by them cause, well,you're just not into chickens. They have lots of really cute chickens and roosters. Here are a few from HomeGoods that I saw that really caught my eye.

                                                                        
This guy is in one of my favorite color combos.
               
Love this color.


I just love this fat round bodied chick.


                                                           Great Paper Mache' Chicken
                                              I seem to be drawn to white, black and red chickens.


The same week I found these chicks and roosters at Hobby Lobby. What a great variety of chicks!


                Blown glass chicks have a totally different vibe. Not quite so country, more sophisticated.
                                                            My color combo again.

                                                            Metal, glass, wood and ceramic

Even though I really like these, I haven't bought any of them. Maybe I'm just meant to like them from afar!
Anything that you're attracted to that you just can't explain? Tell me about it.