It's been so long since I have written a post. I've been super busy and wanted to show you one of the things I have been doing. Somehow, I didn't see the large wooden "gift tag" door hangers until late this summer. A search on the internet says, I'm late! But, I jumped right in to make a set for my niece ( she's the one that "introduced" me to them). And of course I couldn't make just one set, so....
This is how I'll hang this set during the week And this ....
This is how I'll hang these on game days!! While the tag on the right looks faded, that's the sun reflecting off that tag!
Loved these so much that I decided to make them, and sell them in my Etsy Store. www.etsy.com/shop/ReStyledCreations
What do you think? Ready to try something different on your door? Let me know what you use.

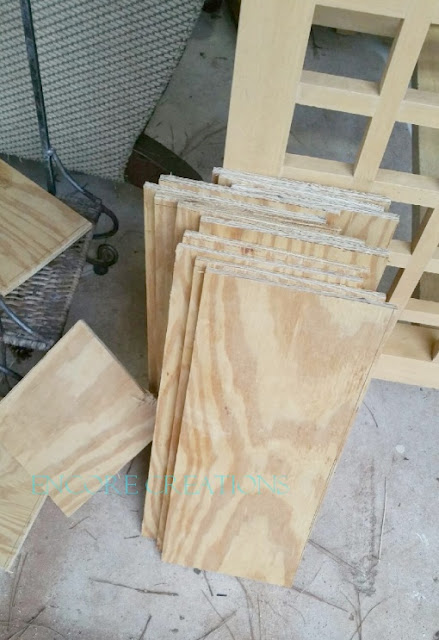
After ripping the sheet of plywood, I was ready to move to the miter saw.
Enough cut to make at least 12 tags.
Sanding, then drilling the hole was next.
It was almost too easy. I got so carried away I forgot to take pics of every step. But, you can pretty much figure the rest out. I used 1/2 inch plywood. The hole was made with a 1 1/8 hole drill bit.
These are the door tags that I made for my niece and also the wreath that she had me make.
These tags led to me making this set for my front door.
This is how I'll hang these on game days!! While the tag on the right looks faded, that's the sun reflecting off that tag!
Loved these so much that I decided to make them, and sell them in my Etsy Store. www.etsy.com/shop/ReStyledCreations
What do you think? Ready to try something different on your door? Let me know what you use.


No comments:
Post a Comment