

As all mothers know, time flies when you are raising children. One day, they are learning to talk, to walk, and before you know it, they are learning to read.Then you look up one day and they are graduating from high school, and you wonder where did the time go.
A couple of weeks ago, I sat at the high school graduation of my baby girl, Cassie, and all of those thoughts about time flying, etc. flew through my head. And then it was on to the party!! Warning, Warning, this post has lots of pictures and some quick how to info.
I shared one of my party projects in an earlier post here. This banner had lots of elements and looked great.


One of the earliest projects was creating the invitation. Using a ream of pink card stock that I got for free a couple of years ago ,I created her invitation and other paper goods. I got the chevron pattern online (free!!) I found her school's logo on Google images and added that to the invite. To give it a little something extra, I colored in the V with a gold metallic Sharpie. It came out great. Hot pink envelopea from Michaels.

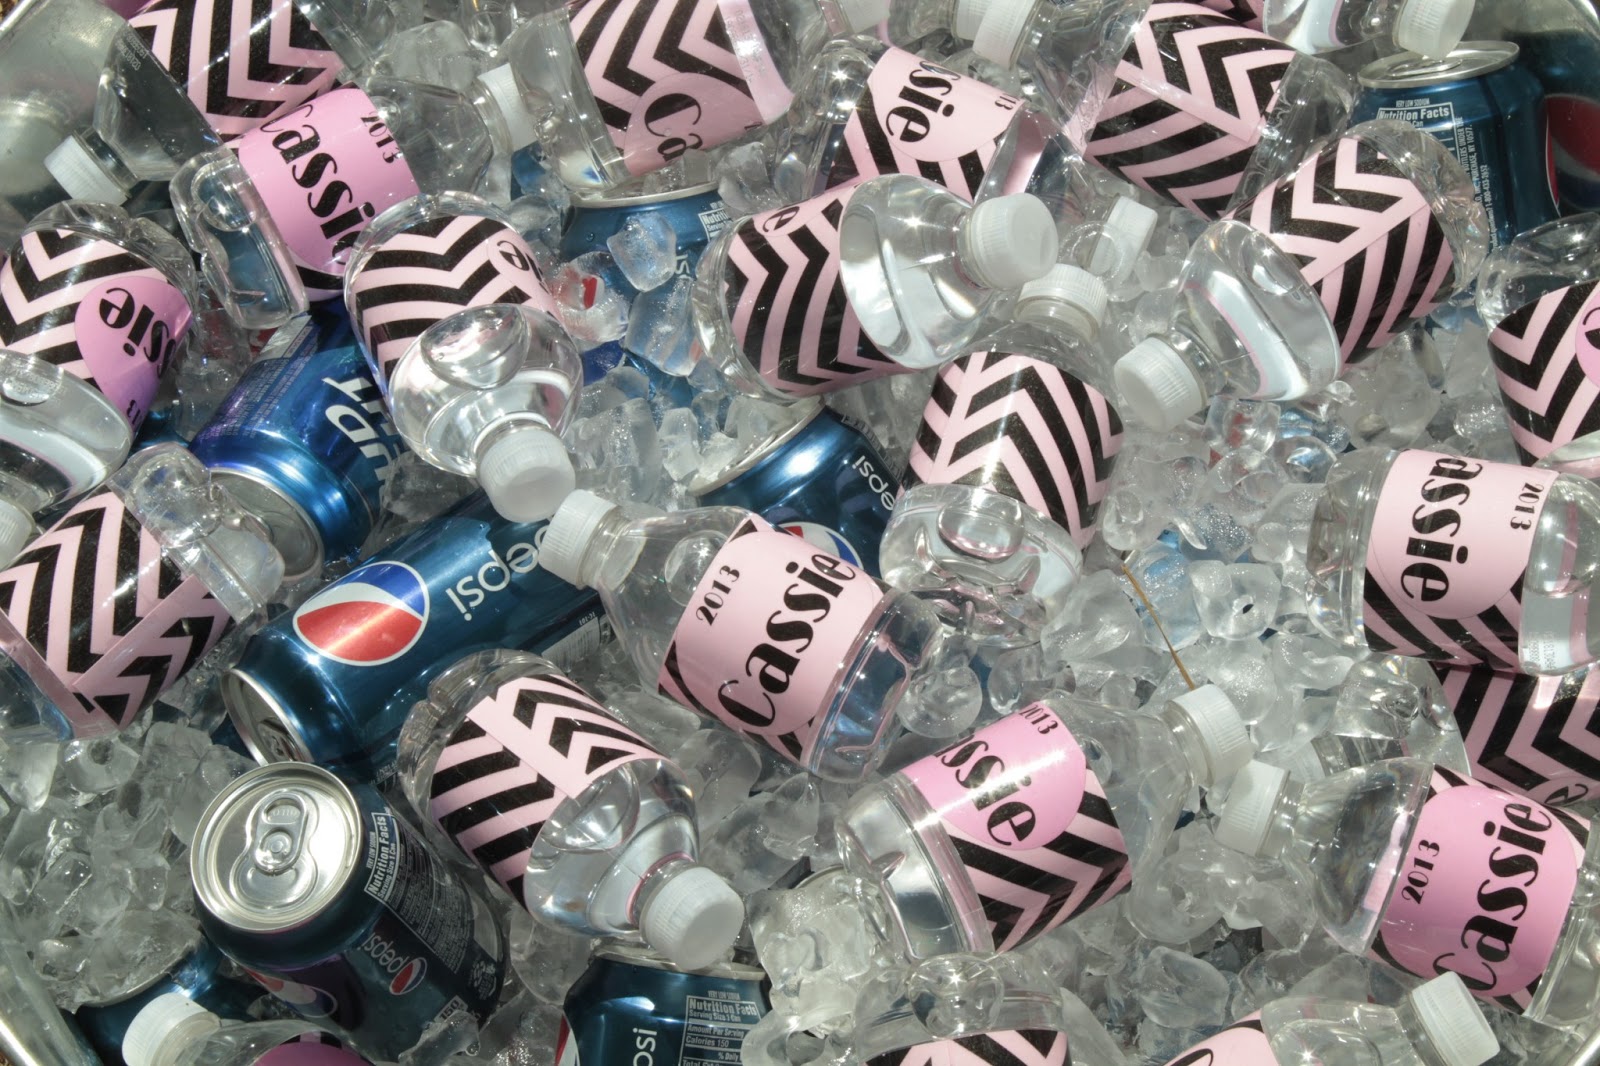
Here's a pic of all of the pink paper goods. Invitation, party favor, water bottle label, flags on skewers.

No, her school colors aren't pink, black and white. She just likes pink (so do I). Her school colors are black and gold. We used both colors as accent colors at the party.
Wanting to "dress up" the napkins, I found a rubber stamp at Michaels ($1.50). Using a permanent ink pad my 9 year old cousin stamped a C in the center of each napkin. Cassie then wrapped the plactic forks, etc in a napkin and tied them. Off they went to a cute pick basket.

I don't know about you, but I like party favors. I love how creative and unique party favors can be. I think it says something about the host/hostess and what they think of their guests. Since Cassie wants to be a pastry chef, a great friend, Shelly, suggested we to use that as the basis for her party favor. Cassie had recently won a contest with her Sweet Potatoe Cookies so we thought we'd share her recipe. Using our pink paper and chevron pattern, I created a recipe card,embellished with a ribbon. On the back, Cassie used a stamp that she found at Michaels ($1.50), that says, " You are special to me" she signed them, and we laminated them to protect against spills.

I used scrapbook paper in a pink and white chevron pattern to make mini flags that were glued to the Taffy Skewers we made and were stuck in the cupcakes. The other side says "class of 2013".

Cassie's major request for this party was to have a pink and white candy buffet. After looking at lots of pictures on Pinterest and at Candy Warehouse, I knew I wanted to use glass containers for the candy. I also knew I didn't want to spend a lot on glassware. I decided that $2.00 was the max I would spend on any container. So, off to my favorite place, the Goodwill. I found these bowls on separate visits for a total of $2.50.


For this beauty I did spend way more than $2.00. But she was so worth it. Can you believe she was only $14.99 at Homegoods. Can you beat Homegoods for glassware? I don't think so. It was so pretty filled with pink and white marshmallows. And she will look great with diffent items that I will change with each season.

These are the containers that I collected or already had. I decided to dye the rice that I used to hold the Taffy Skewers and Twisted suckers in place. Here's a pic of our pink and white Candy Buffet.


The next step was decorating the backyard. I found the inspiration for this idea on Pinterest as well. The tip about putting a marble of glass bead into the balloon worked great. They hung down as if they were big pieces of pink and white fruit. I only wish that I had more trees that weren't pine trees so I could have hung more. This was so cute.


A last minute idea was to make a menu board. I just printed it up , took it to Kinko's and had it
enlarged ($4.00). I then covered the mat with wrapping paper and scrapbook paper. Next, I inserted the menu right over the original art work, done deal. The framed art work awas a $3.00 thrift store find that was hanging out in my garage.
The "big candy" decorations are pool noodles that I hot glued into circles. I had some loose beads that I used to cover excess glue. Wrapped the and , done deal. The smaller ones are actually one noodle that I cut in half lengthwise.
There are tons more pics but, I thik you get the idea. We had a great time. I highly recommend to anyone planning a special party that you cruise through Pinterest several times. There are some truly creative people out there and they are willing to share. Here's our final project:


Mrs.Tina, you use your talent very well and professional,with a very low cost.
ReplyDelete