Monday, July 23, 2012

Great News !!


 I am "over the moon" excited today with the announcement of May Arts new design team.  Guess who made it on the Cameo Ribbonistas team.  Yep, yours truly.  I can't wait to create new projects using their wonderful ribbon. Now you know why my last 4 posts all had projects that used ribbon. I'm always looking for new ways to show my creativity. First, the ribboned rocking chair, then the ribbon weave chandalier, who knows what's next.  I'm really looking forward to sharing with everyone, ways to use ribbon that you may have never imagined.  The projects submitted by all of the designers were major league and so creative and I feel honored to be a part of this team.

Thursday, July 12, 2012

Lighting Up

When looking through design books and magazines, I am usually really captivated by the smaller details in the room. One place my eyes always land is on the light fixtures in the room.

I really have a thing for unusual light fixtures, for cool. unique, glamous light fixtures. I loved it when I started seeing glamous jeweled chandaliers showing up in kitchens and bathrooms. And how could I finally have a daughter in this family full of men, and not put a pink chandalier in her room!

After a few nights of insomnia I realized that I my bedroom chandalier needed changing, I have recently been involved in a project that focuses on using ribbon. With ribbon on my mind I came up with a new chandalier that used ribbon. I used May Arts ( www.mayarts.com)  1.5" Taffeta/Iridescent in silver and 1.5" double satin in white to create a glamorous ribbion chandalier. Here's a look at the finished project.


What do you think?
Can't you just imagine the versions of this that you could make.  Two shades of pink for bedside lamps in a little girls room. Black and whte is a game room. There are so many ways you can adapt this project.  Now that you have all those ideas floating around , here's how I made it.

Materials:
1 pendant drum shade ( choose best size for your project)
1 pendant light kit
 Low temp glue gun/glue sticks
clips
ribbon ( you can use whatever width you want, but I wouldn't go beyond 1.5" remember the narrower
              the ribbon, the more you need). The amount you eed depends on the size of your shade.
scissors
tape measure
5" steel macrame ring
Optional:
beaded trim, glass balls


The shade that I used came from Ballard's Backroom and it was a steal! An 18" diameter pendant shade for $9.99 ! I had looked everywhere and had finally descided that if I had to pay $40+ then so be it. But believe me,  it wouldn't have been with a smile like the one I wore leaving Ballard's.


  1.  If your shade is covered in a dark color , carefully pull the fabric off, taking care not to rip lining.
  2.  Measure the circumference of the shade and the length frm the top rim to the bottom ( add to length at the bottom so that ribbon will reach the metal ring that will be added in the middle of the diameter.
  3. Cut as many ribbons as required to cover the circumference of the shade in both colors. If youare using two colors, cutequal amounts of each color. I used twice as much of the silver because I used both sides of that ribbon for 2 different shades of silver. 
  4. Cut as many ribbons as required to cover the length of the shade in both ribbons.
  5. Next, using hot glue, glue the ends of the ribbons around the circumference of the shade in rows. Start with one color and then alternate every other row, making sure seams are all aligned in the back. Put each row very, very close together so there are no gaps between the rows of ribbons.


6. Beginning with one piece of the length ribbon, glue one end to the top rim of the shade and  weave the ribbon through the ribbons that are glued around the circumference of the shade.

7. Continue weaving with the second color, staggering them, in other words, if the last ribbon started
under the top row, the next on goes over the top.
8.  Repeat this until the entire shade is covered.
9. Make sure that there are no gaps between any of the ribbons.


10.  To add the ring to the bottom of the shade I made a template. On poster board I drew an 18" diameter cicle. In the center I drew a 5 " diameter circle.


 I placed the shade on the outer circle, making sure all the ribbon ends were inside the circle.

11. The ring was laid on the smaller circle and the ends of all the ribbons were under the ring. 
12. The esiest way to attache the ring was to take 2 ribbons from the 4 compass points ( N, S, E, W) and pull them tight, making sure the ring remains in the center.
13.  You can then turn the shade over and pinching each ribbon as you take it around the ring you glue them in place.


Once I finished, I added a 4"diameter hand blown glass ball.


That's my  latest project. This could be completed from start to finish in about 3 hours.


make it happen


Wednesday, July 11, 2012

Long Awaited Announcement !!

Hi everybody,

Yes, I know it's been almost a month since my last post. There's been so much going on, oh well, I'm back again, again!

Since my last post, the most exciting thing to happen was the opening of my Etsy store.  June 26th was a big day, not only was it  the one year anniversary of my move from Michigan to Georgia, but it was also the opening of my Etsy store, Restyled Creations. I have been making home decor items I since I moved but had not pulled the trigger on getting the store open.

With a lot of help and encouragement from my good friend Shelly , I pushed forward. While I only have a small portion of the items I've made listed, I feel good that I've done what I said I would do. Within a year of moving I'd have items available for purchase online. Just made it , Yea me!! 

So here's a peak at some of the items that are listed and some that will be listed soon. So, go on over to www.etsy.com/shop/restyledcreations
Finial set
silver plated mirrored tray

de lis finial


Mirrored plate wall decor

monogramed notebooks

vintage purse


Hey, stay tuned, thre's more to come. And please leave your comments, I'd love to hear fom you.

Monday, June 11, 2012

With Just a Little Bit of Ribbon...


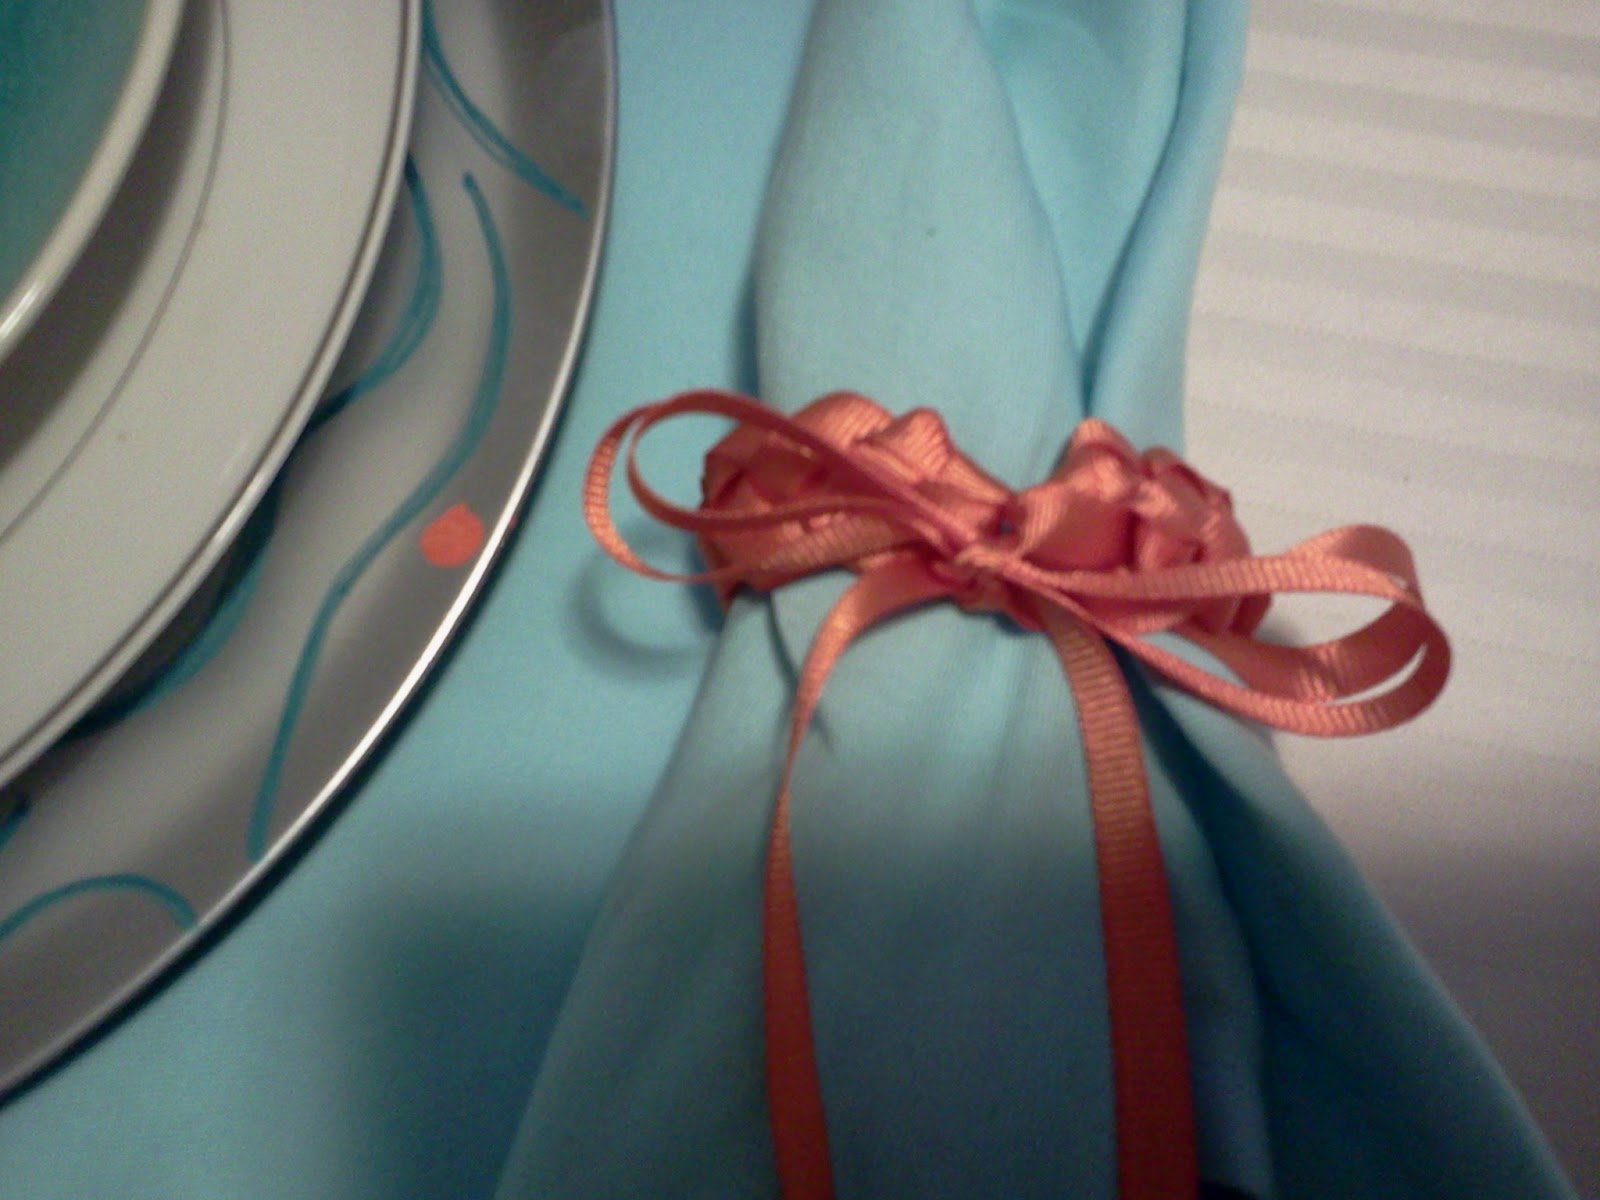
I have been tying to create just the right look on my dining room table, but alas, still not finished.  But, there is progress.  My colors are turquoise and orange,  and if you've seen pics of my diningroom you aren't surprised.  Since I really like this color combination and have for sometime now, I needed a new look from my old colors!  Hit one of my favorite spots, Homegoods and found some really large napkins, 12 in a package for $7.99. My kind of deal.   I was able to use four as placemats and four as napkins. Well, now that I had the turquoise part of this combination, I just had to find the orange. I decided that I wanted oeange napkin rings.  Ever try to find those when it isn't even the fall yet, let alone Halloween!! Nothing caught my eye soo.. I figured I would have to make some and with the trip to see my son graduate from college, eating a major hole in my budget, I knew I'd  have to make them at very little cost.

Hit on a cute  and simple solution. Remember braiding lanyards back at summer camp? Well, I do and  I decided to  try my hand at some braiding.  Plastic lanyard cord wasn't going to make it onto my table but ribbon could work.  Below are a few pics of  the napkin rings and placemat.  I has so much fun doing these that I decided to add some to the placemats. Nothing like good old grosgrain ribbon. It comes in so many colors and patterns, use your imagination!! What about using a ribbon that is a different color on the reverse side, too cute.   I saw some on the May Arts website, I think I'll go take another look at them.


Love this saying...

Sunday, June 10, 2012

Sometimes When You Least Expect It!


 As we planned to attend my son's graduation from college (yea me!! Two down and one more to go), my daughter and I looked for a cute, lightweight bolero or shrug to go with her sundress.   We weren't sure what the weather would be like in Upstate NY and wanted to be prepared.  There was nothing to be had in the stores, but wait, one day while on line I found it!! I'm always on the look out for something new, quick and inexpensive to make. Okay, you know I really wanted to say cheap, but inexpensive sounds a lot better.

It is a cute, quick and inexpensive little shrug that she could wear. It required 2 things, a t-shirt and
ribbon.  What do you know, I had both so, away I went.  And here it is ,what do you think of the finished product. 

Front

                                                         Back

Here's how you make it:

You need:
1 t-shirt
scissors
straight pins
a saftey pin
approx.  30  inches of 1in. wide  satin ribbon.

Locate the center of the t-shirt. I folded the shirt in half and ironed it, creasing the center.


      2 Cut from the hem up the crease and around the neckband.       


                   3. Next fold back 1 1/4 in. and pin along the cut edge, forming a casing.  Also mark 2 in. up from hem at center of sleeve.                           

The next step is to stitch along the edge, forming the casing. And stitching a gathering stitch from the bottom of the sleeve to the 2 in. point. Then gather and secure stitches.


Using the saftey pin, thread the ribbon thru the casing. Pull through, adjusting gathers and
DONE!!


That took less than 30 minutes.  Imagine the color possiblities.  With a few basic color t's and a variety of ribbons the possibilities are endless.


Doubt kills more dreams than failure.